• Home
  • FAQs
  • Contact Me
  • About
  • My Fave Crafty Stores
  • Subscribe to my blog:
    • Email
    • Facebook
    • Instagram
    • Twitter
    • YouTube

Creations With Christina

where scrapbooking is a work of heart :)

Teacher Gift

June 9, 2011

Hi Everyone,
Happy Thursday. I’m so excited, yesterday I signed up for “Summer Card Camp 2011” with Kristina Werner and Jennifer McGuire. It’s a 4 week program with two of my favorite crafty girls. The list of guest designers is amazing too. Ali Edwards, Nicole Heady (PTI), Nicole Magourik, and so many more. I can’t wait…You can find more information HERE.

Last night at the last minute I made Ethan’s teacher an end of school year gift. Today is his last day of 3rd grade and he’s so excited for the summer.

Here is what I put together…

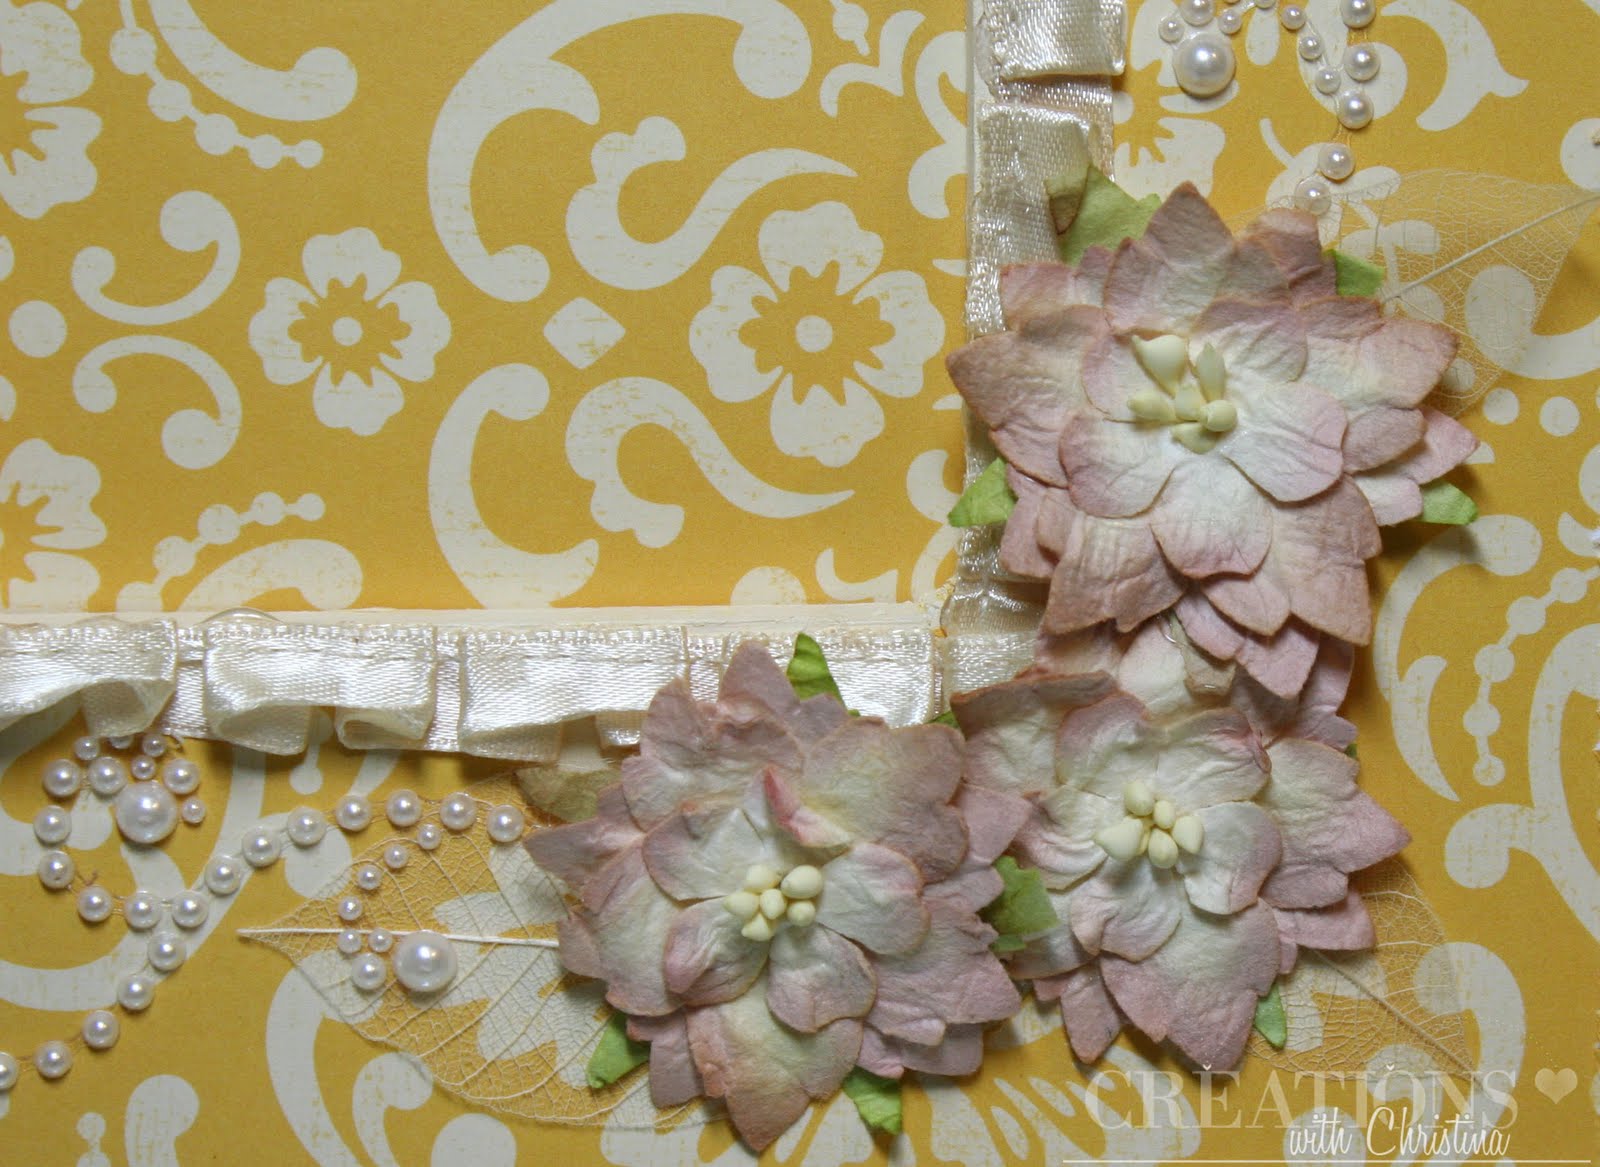
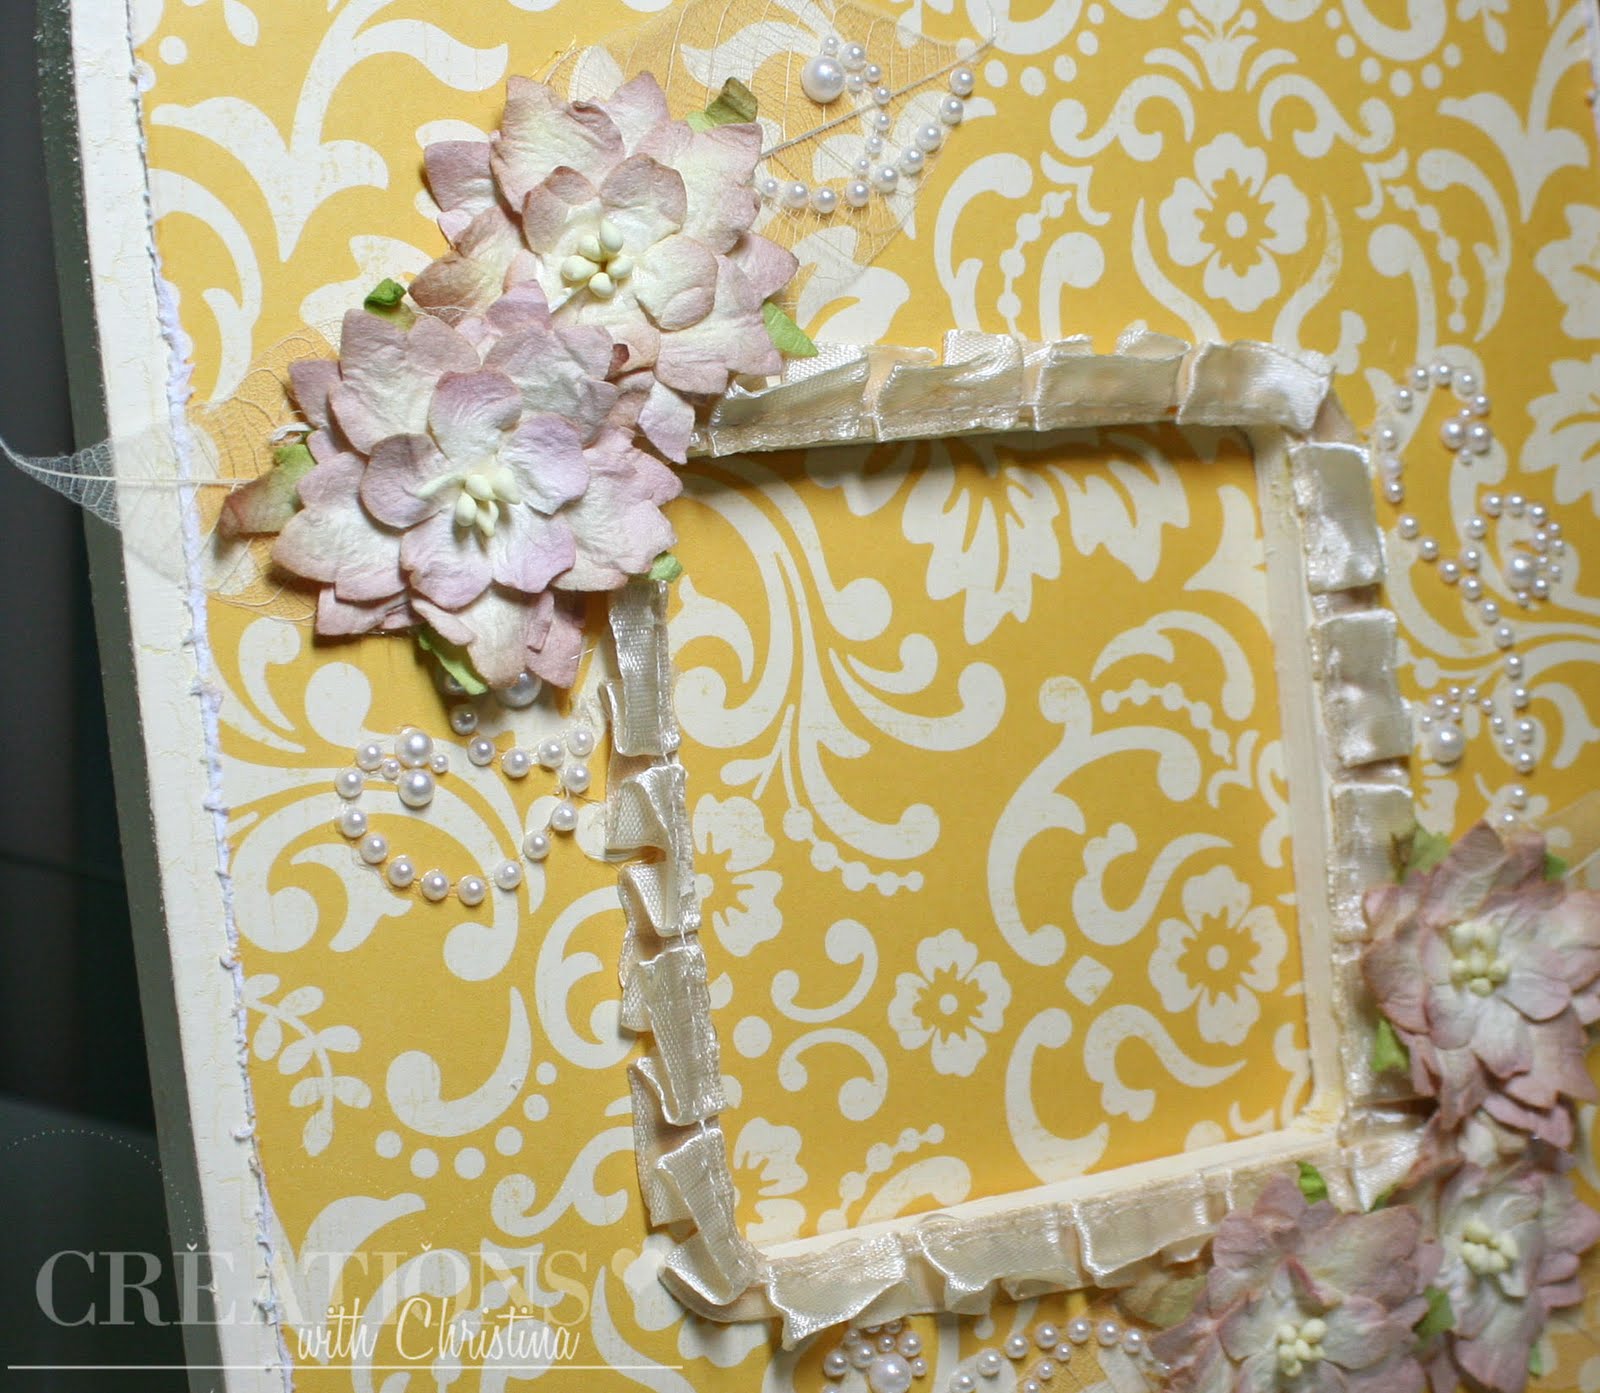
I used these memo cubes from a Treasure Nest and they where so much fun to make. 

I just simply inked the edges of the box with Shabby Shutters Distress Ink, painted where the picture would go black to look like a chalkboard and then covered the top with October Afternoon pattern paper. Added some flowers and bling…DONE! Oh and I rolled the pencil with the same paper, but I didn’t do the whole pencil so it could be sharpened. 
Yep I put it in upside down, I fixed it though…

 Have a great Thursday and see you back here tomorrow.
Hugs,

Filed in: Altered Projects • by Christina •

Picture Frame

May 24, 2011

Hi Everyone,
The library is having a big fundraiser this Friday and three of us crafty girls are each doing something to put into a raffle basket.
Since the party is this Friday I didn’t have time to work on a mini album so I went with a picture frame. The frame is from Michael’s wood section and holds a 3 1/2″ x 3 1/2″ photo.

 I used some pleated trim around picture area, it highlights the frame nicely and looks great with the October Afternoon “Thrifty Shop” paper. The flowers are from I Am Roses and I love them. Look at the detail in the mulberry. Stunning! I also added some skeleton leaves and prima bling.
 I distressed the ends of the paper to give it a little more detail.

Well thats all for today, thanks for stopping by and I hope you have a wonderful day.
Hugs and happy crafting

Filed in: Altered Projects, Picture Frame • by Christina •

Sketch/Project Box

May 16, 2011

Hi Everyone,
I was getting caught up on some Live with Prima shows last week and saw this box that Marion made. I loved it and decided to try one for myself. I made mine as a project/sketch box. The box itself only took about an hour to put together, it was picking out what paper to use on the box that was tough. I  love October Afternoon pattern paper and I had a really hard time persuading myself to cut it….Especially some of the older paper that is harder to find. Check out Two Peas in a Bucket if you are looking for some OA.

Here is a quick video on my box. Click HERE to watch it on You Tube.

Check out Marion’s Ustream video HERE

Have a great week 🙂
Hugs and happy crafting,

Filed in: Altered Projects, Sketch Box • by Christina •

Name Plate VideoTutorial

April 21, 2011

Happy Thursday Everyone,
This week is just flying by, I can’t believe it’s Thursday already. Next thing we know we’ll all be up till’ midnight ordering out Cricut 2’s on HSN. lol

I wanted to share a gift I made for my Scrapping BFF Teri and her daughter Kasi…Teri is in the process of re-doing her craftroom and I wanted to make her and Kasi a little something for their desks. So I made them nameplates.

Enjoy a video tutorial on how to make the frame for the nameplates…

I had filmed a great video last week with all these wonderful details on the nameplates and a tutorial on how to put them together…Two nights ago I was cleaning up files on my computer and deleted the video completely. Didn’t even leave it on the camera…So last night I filmed another tutorial. If you want to really see the details of the nameplate check out Teri’s video HERE. Her and Kasi are just the sweetest…

I’ve been looking over the Country Life Cartridge and I have to say…I can’t wait to get started….

Hugs and happy crafting,

Filed in: Altered Projects, Name Plate, Videos • by Christina •

Journal/Calendar

January 10, 2011

Happy Monday everyone,

OK so I know it’s not the best and I’ll work on a new one, but look what I made…my own blinkie…It’s over there on the right…see it….I’ll be making a new one, now that I know how to do it. The blinkie is for the 12 month layout challenge, you just click and it will take you to the challenges so you can upload your project…check out the ones who have already submitted their layouts. Great work.

Today I thought I would show you a quick video of a journal/calendar that I made. I bought one of the calendar planner refills and made my own cover. Sorry I don’t have pictures, I left my calendar at work 🙂

I’m off today since I worked yesterday, so while the house is nice and quiet I’m going to start filming the Tags Bags Boxes and More series that I’ll be posting next week 🙂

Have a great Monday,

Filed in: Altered Projects, Videos • by Christina •

Another Frame

December 16, 2010

Hi Everyone,

I’m running late for work so I can’t go into the supplies used in this frame right now, but I’ll come back tonight and update it with the details…
This frame is for my Mother-in-law to give as a gift. I had made her one to go with Ethan’s school picture and I told her I would make one for her to give a friend as a gift….

Enjoy your day…

Filed in: Altered Projects, Home decor, Picture Frame • by Christina •

Frame

December 14, 2010

Hi Everyone,
I’m a little late posting my Tuesday project. Better late than never right? Here’s a frame I made for Ethan’s 3rd grade teacher, Mrs. K.

The Green polka dot pattern paper was a very bright BoBunny paper. I white washed it with some acrylic paint and water. Love the tone down look….I inked the edges with vintage photo distress ink.
The frame overall measures 9 in. x 7 in. and holds a 4 in. x 6 in. picture. I picked up a couple of these frames from Michaels…this one has a more angled picture area and the others are straight up and down. I didn’t think I would like the angled frame but I love it. I think a trip back to M’s to get more might be in order….

The satin ribbon is just a wide piece I had in my stash. I used some Eline Prima Pearl bling and those beautiful flowers are petals from IamRoses.com. I sprayed the flowers with Marshmallow Glimmer mist and added some mini roses (also from iamroses). Stuck behind the flowers are some small skeleton leaves (yep Iamroses) and a beaded stick pin, you probably can’t see the pin in the picture..

Well I have two more frames to work on as gifts and I’m done with those. Hope your having a great week. Maybe I’ll actually get around to those Christmas cards tonight…

Filed in: Altered Projects, Home decor, Picture Frame • by Christina •

Treasure Box

November 19, 2010

Happy Friday….
WOW this has been a long stressful week and I’m glad to see it come to an end. Looking forward to a nice relaxing weekend….We’re going to start decorating the outside of the house tomorrow for Christmas. Ethan is extremely excited, he’s been talking about it for days.

On to today’s project.
Ethan’s piggy bank was this pig that he was given many many years ago…it’s sorta baby, so I made him a treasure box to keep the money in he’s saving to buy something…

I have to give my hubby some credit on this project. I got as far as painting, covering and putting the metal letters on the box, then I got stuck. Scott came up with the rope idea, the lock, and coins hung on the side.
I must be rubbing off on him…

First I took a paper mache treasure box and painted it brown, then white washed it with some watered down white paint. Then I look some Basic Grey Marjolaine paper measured and trimmed the sections to fit. I sewed along the edges of each section and then used walnut stain distress ink to edge the pattern paper. Once I had the paper sections glued down with mod podge, I started embellishing the box. I wanted to keep it simple and not too little boyish…Added the metal Ethan letters, a Tim Holtz lock and corners. Then added the rope and Tim Holtz coins on the sides.
Time for work. Have a great Friday…

Filed in: Altered Projects • by Christina •

Next Page »
Hi! My Name is Christina and welcome to my little place on the Internet!

Subscribe

* indicates required

About me

  • Email
  • Facebook
  • Instagram
  • Twitter
  • YouTube

Popular Posts

Layered Make A Wish Stencils

Spellbinders Stamp @ Die of the Month

Photos and artwork shown here are property of Christina Thomas (except where indicated). Use of my photos and/or artwork is for personal inspiration only and may not be copied for commercial advertising, challenges, contest submissions, publications or resale. Feel free to link my blog to yours. No permission needed.

Some gorgeous florals with this Glimmer of the Mon Some gorgeous florals with this Glimmer of the Month set (March) by Spellbinders. See the video over on my You Tube Channel: https://www.youtube.com/creationswithchristina

 #handmadecards #cardmaking #neverstopmaking #Spellbinders #embossingfolders #spellbinders #spellbindersglimmer
If you love layered stencils, you'll love Spellbin If you love layered stencils, you'll love Spellbinders newest Layered Stencil Release. I had a lot of fun making this sweet card. Video is posted on my You Tube channel :) 
https://youtu.be/LWB_lJmffKk @teamspellbinders 
 #handmadecards #distressoxide #cardmaking #handmadecardideas #Spellbinders #spellbinderspaperarts #neverstopmaking #cardmakingideas
Made this adorable shaker card for my niece's 8th Made this adorable shaker card for my niece's 8th Birthday. First time using @waffleflowercrafts shaker covers and they are so much fun. I have a video on my You Tube channel (link in bio). Thank you Waffle Flower Crafts for sending me these great goodies. #waffleflowercrafts #shakercards #shakercardsarefun #handmadecards #cardmaking #distressoxide #handmadecardideas #shakercard
I'm ready for spring, warmer weather, sunshine, an I'm ready for spring, warmer weather, sunshine, and bunnies. Today I have a new video using @teamspelldiners Clear Stamp and Die of the month for February. I also snuck in the embossing folder of the month kit as well. Video is love on my You Tube Channel (link in bio)
 #handmadecards #handmadecardsofinstagram #Spellbinders #neverstopmaking #spellbinderspaperarts #cardmakingideas #cardmaking #embossing #embossingfolders #cardstock
This card was testing me, but it turned out adorab This card was testing me, but it turned out adorable! You can see the full video on my You Tube Channel https://youtu.be/vJl0JNZA5I4 
#papertreyink #distressoxide #handmadecards #handmadecardsofinstagram
Some more fun cards using Spellbinders Quick and E Some more fun cards using Spellbinders Quick and Easy Card Kit of the Month Club.
@teamspellbinders  #Spellbinders #neverstopmaking #handmadecards


This error message is only visible to WordPress admins

Error: No feed found.

Please go to the Instagram Feed settings page to create a feed.

Copyright © 2023 · Theme by Blog Pixie


Loading Comments...